
Enviado desde
Color
Descripción


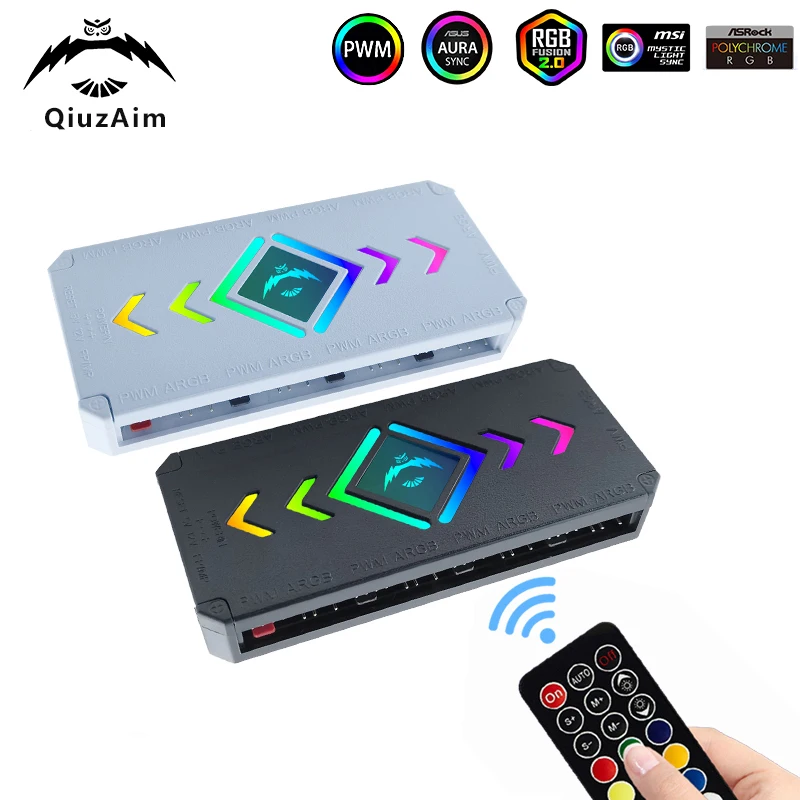
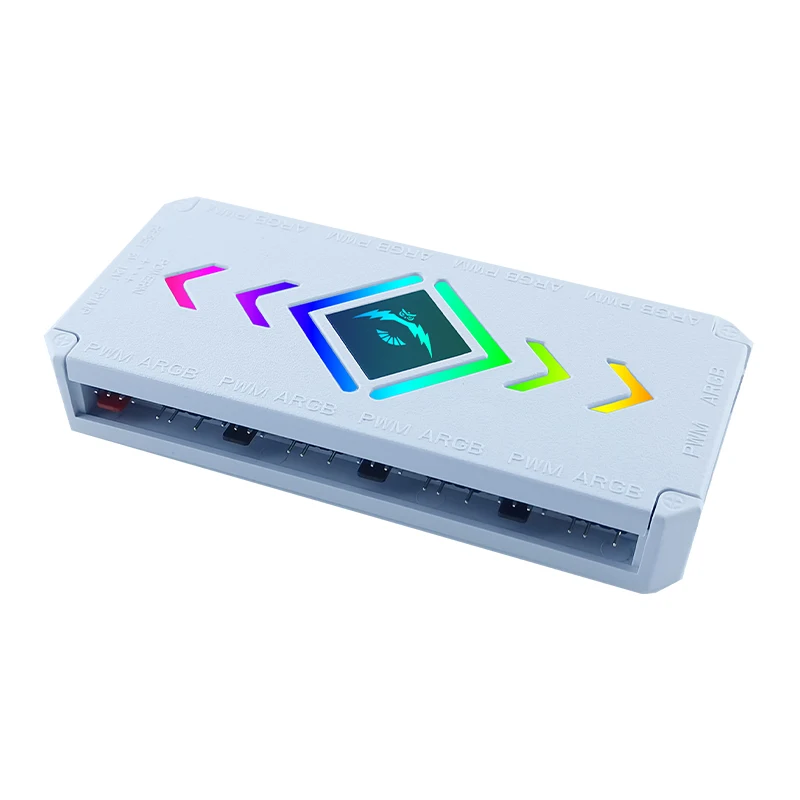
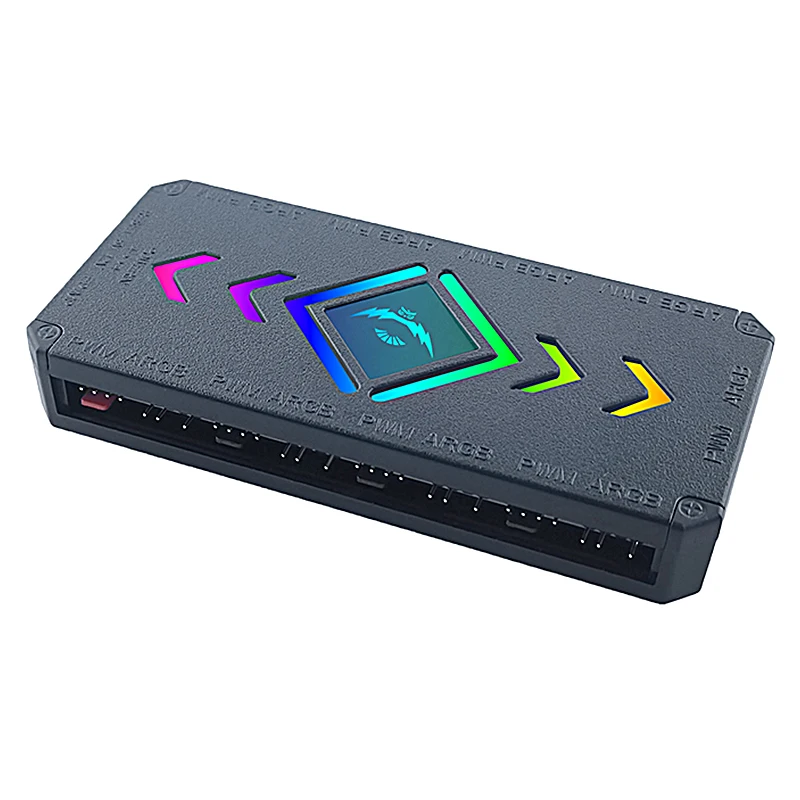
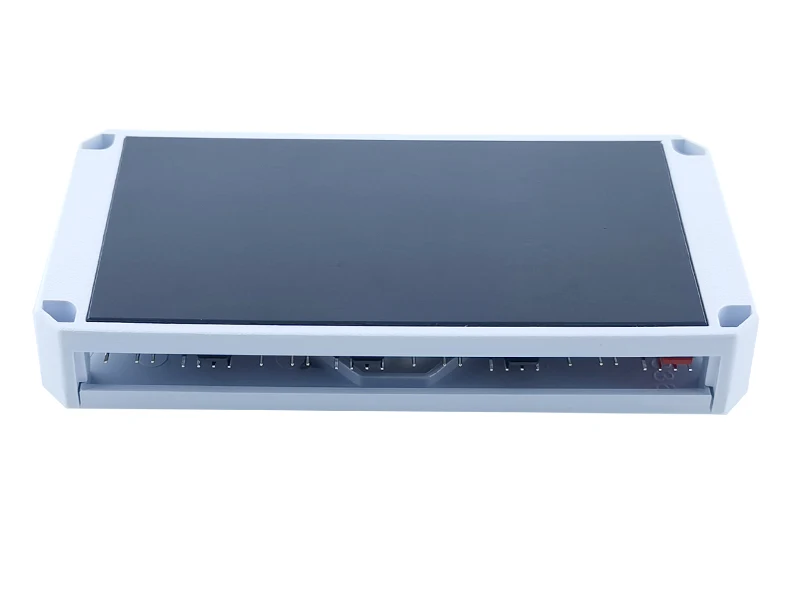
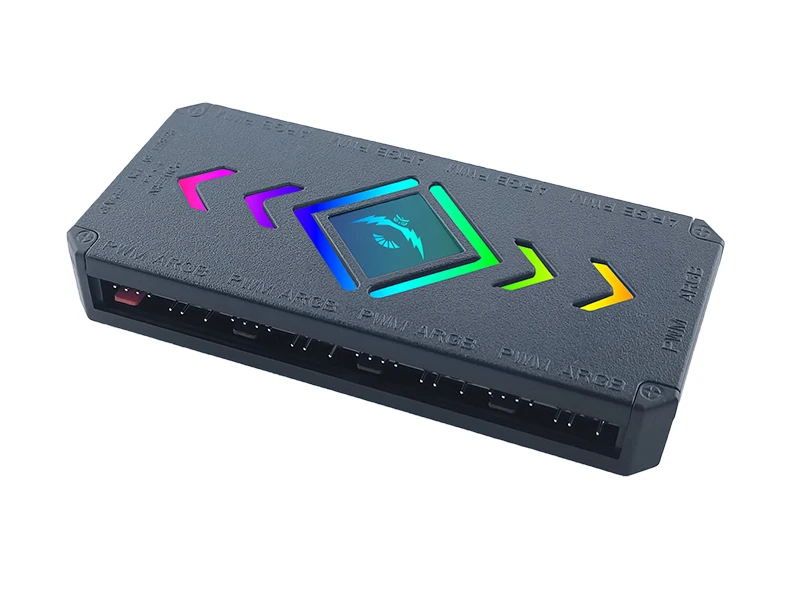
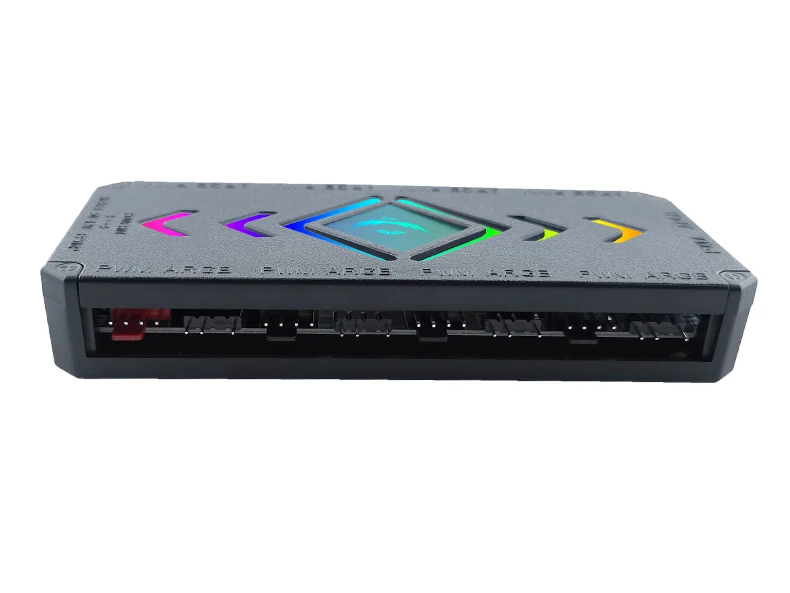
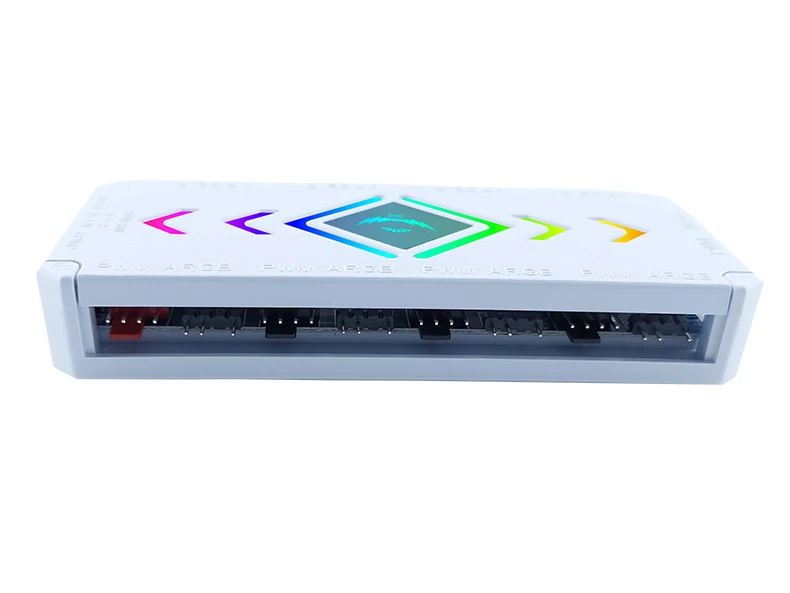
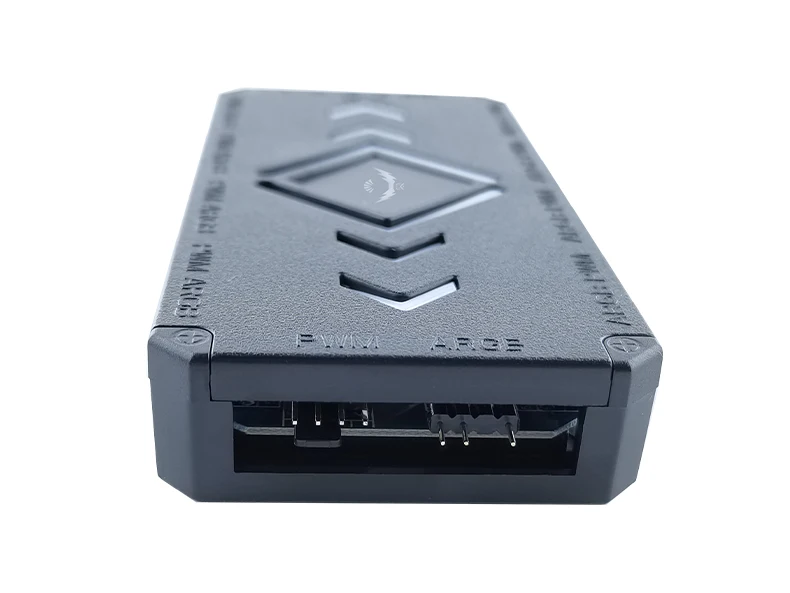
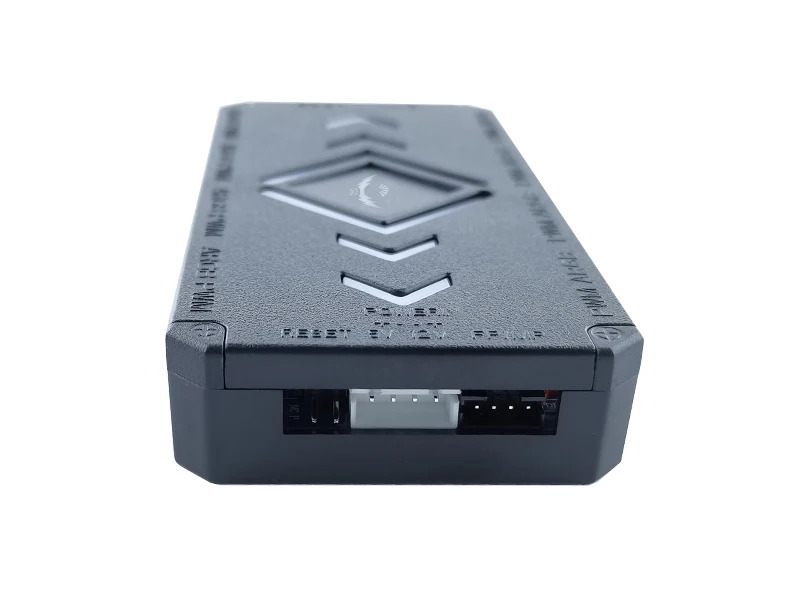
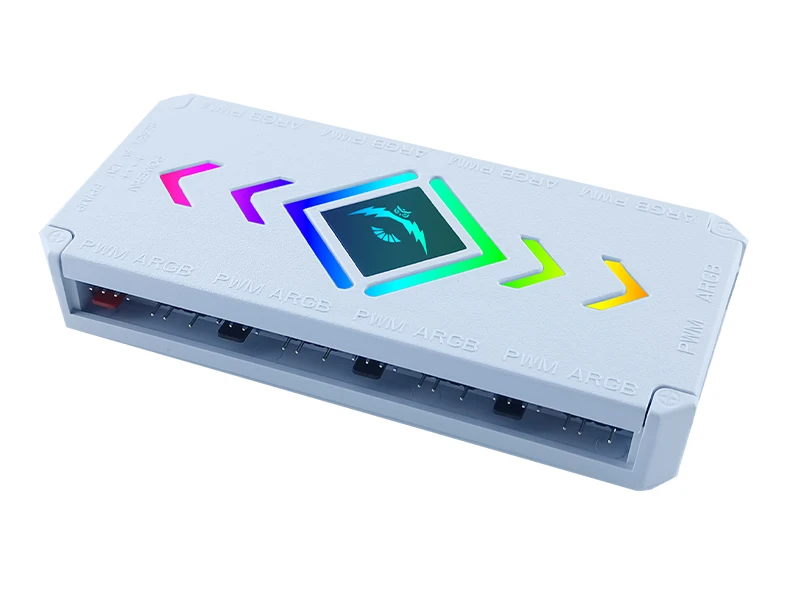
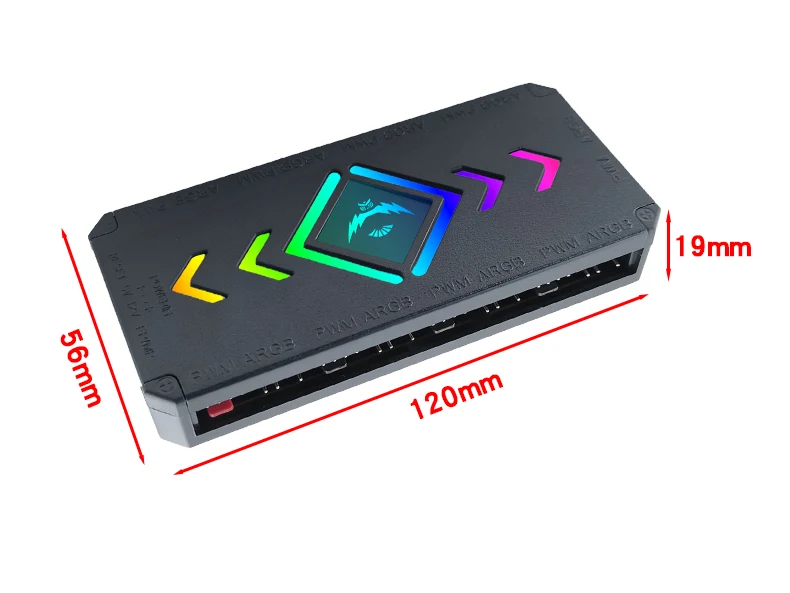
Introduction to Controller Connection
① Power SATA interface
② 5V 3Pin PWM fan interface
③ PWM signal line
④ PWM ARGB fan interface
⑤ CPU heatsink fan, connected to the first interface (red PWM 4-pin interface)

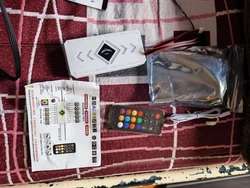
Introduction to remote control button functions
1: Power on/motherboard switching
2: Mode+
3: Fan speed+
4: Fan speed-
5: Static color key
6: Press the code/code matching button 10 times in a row, flash quickly 3 times to pass the code, and flash slowly 3 times
7: Press continuously 10 times to enter RGB sequence adjustment. Press the red key until red is displayed, then press the green key until green is displayed, and then press the Off key to save
8: Static brightness-
9: Mode-
10: Static brightness+
11: Close
12: Automatic mode loop
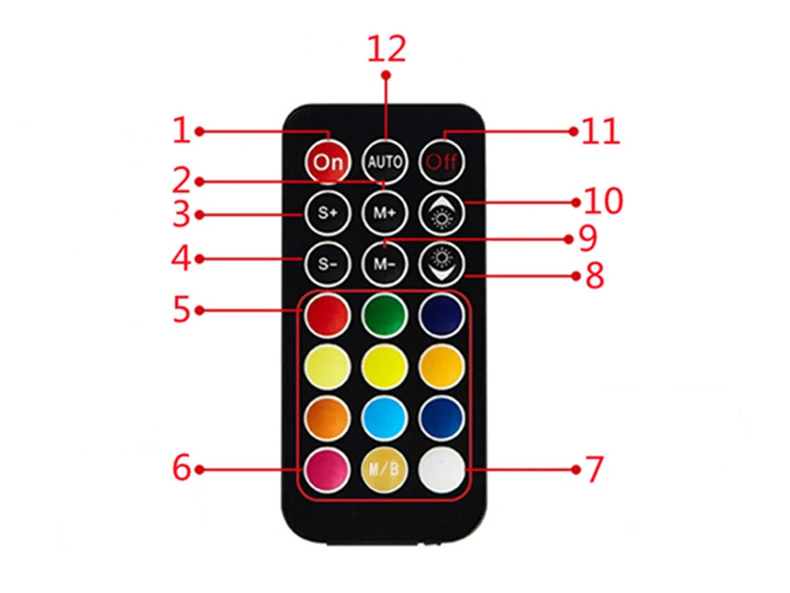
Connect the host and restart the button to switch the lights

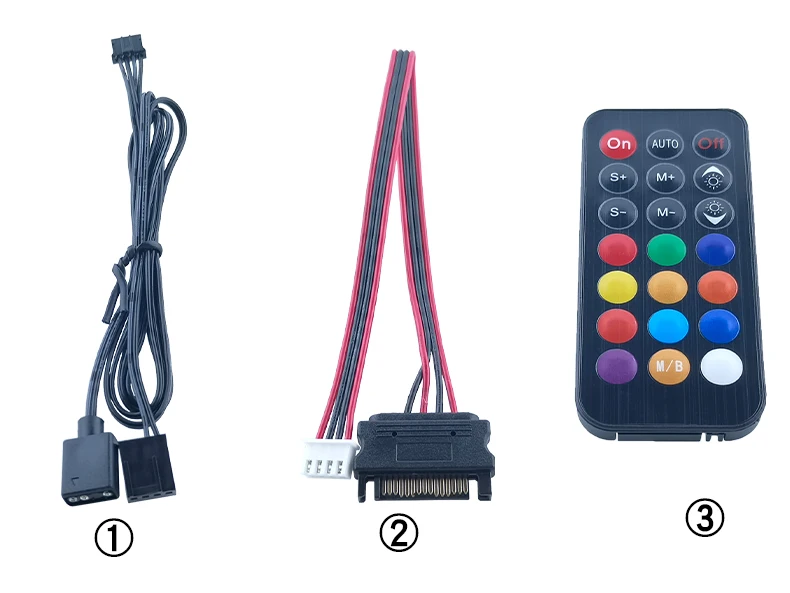
Accessories List
① SATA power cord X1
② PWM 4-pin signal line X1
③ 5V 3-Pin synchronous line X1
④ Remote control X1
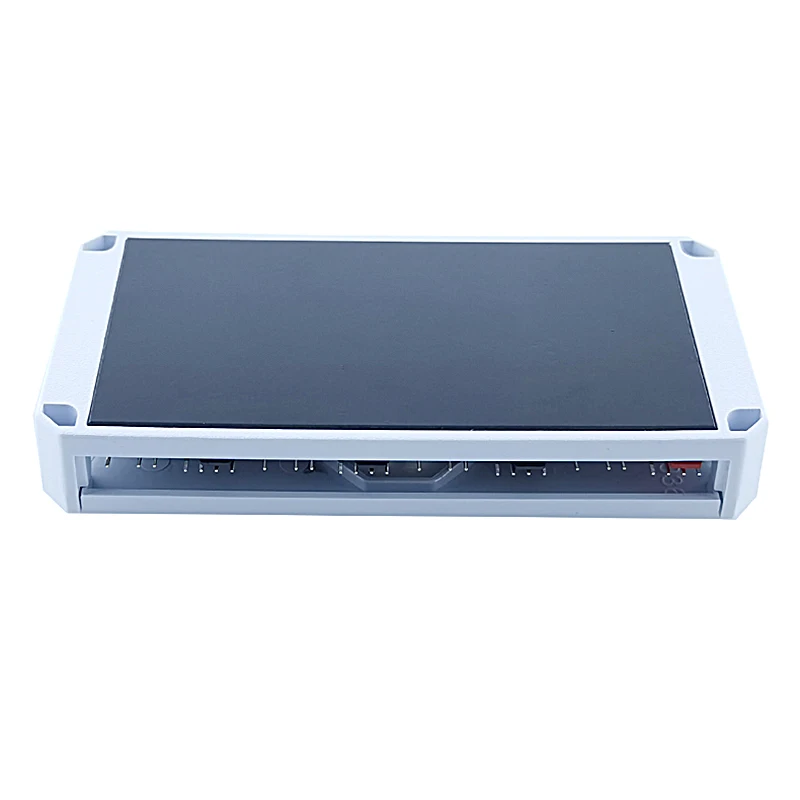
Magnetic suction design for easy installation
The magnetic iron block at the bottom of the controller can be firmly attached to the chassis iron plate, making installation easier


Opiniones de clientes
2 opinionesAún no lo he instalado.